Rounded corners and shadow
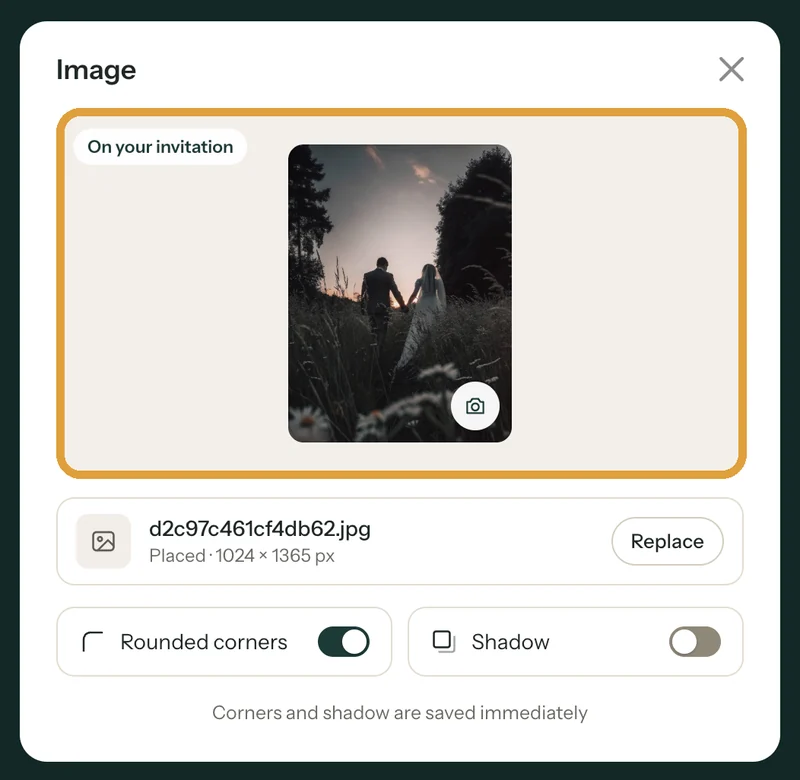
The Image window has two switches: Rounded corners and Shadow. You see the effect straight away, and it’s saved immediately.
Turning them on
- In the builder, click the photo on your card.
- Switch on Rounded corners, Shadow or both. At the bottom of the window it says Corners and shadow are saved immediately.
- Close the window with the cross. You don’t need to click Place image for this.
What changes?
- Rounded corners gives your photo soft, round corners. The buttons at the bottom of your invitation become fully rounded too, unless you choose their corners yourself under Buttons (Styling the buttons).
- Shadow adds a light shadow around the photo, so it lifts slightly off the card.
The setting belongs to your invitation, not to one photo. If you replace the photo later, the new one gets the same corners and shadow.
Where you won’t see it
In the social media images (The images for social media) and in the email Freesavethedate.online sends to your guests, the photo appears without these effects. That’s why the Image window in Edit images doesn’t have the switches.
Consider your card colour. A shadow shows up better on a light card than on a dark one.
Next step: An illustration instead of a photo
Last updated: November 11, 2026