How does Freesavethedate.online work?
You create your invitation as a web page, share one link and watch your guests’ replies come in on your dashboard. That is really all there is to it.
Four steps
- Choose a design. A ready-made design, or start (almost) from scratch.
- Add the details and finish the design. Name, date and location first, then your own texts, colours and photo.
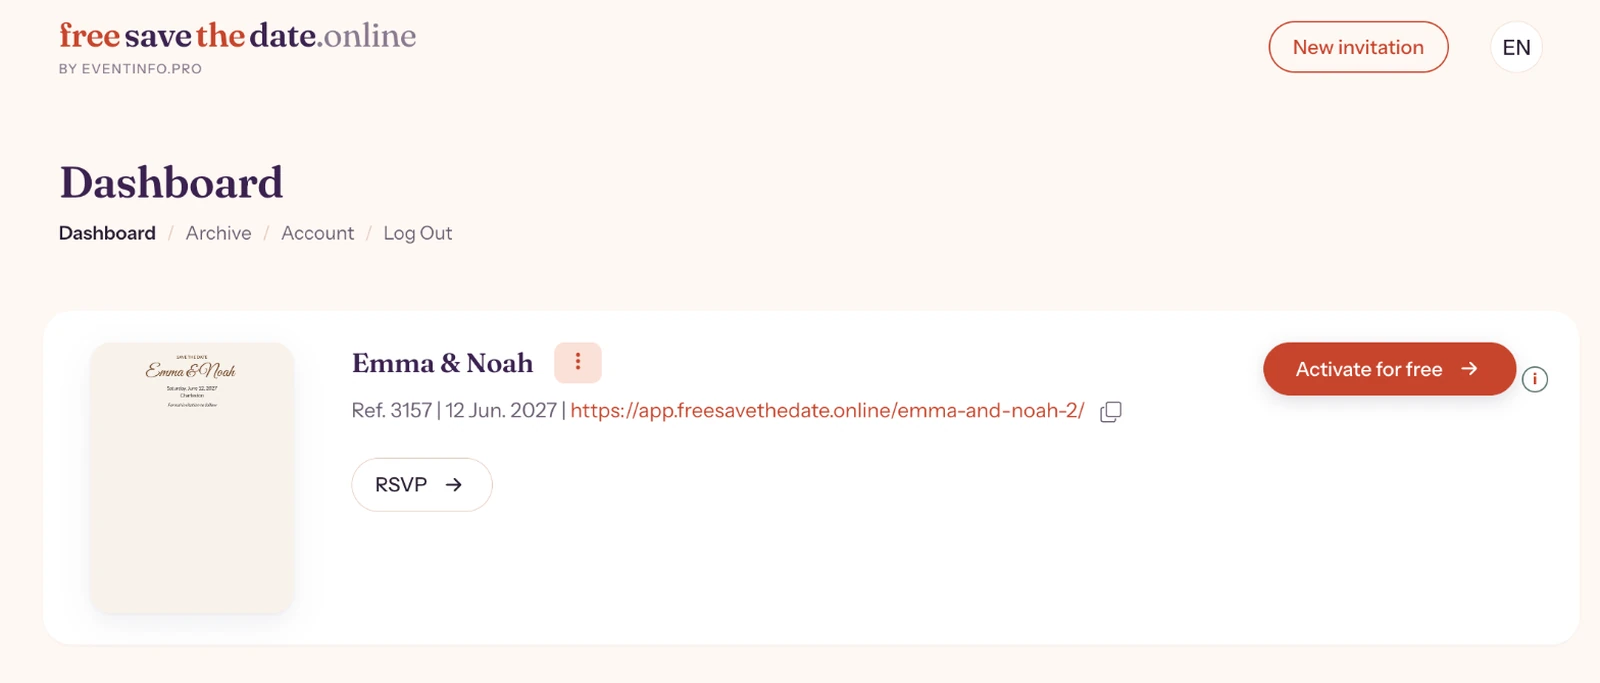
- Activate your save the date. It is free: click Activate for free. You can look at it and show it to others before that.
- Share the link. By email from Freesavethedate.online, through WhatsApp or social media, or with a QR code on a printed card.
What your guests see
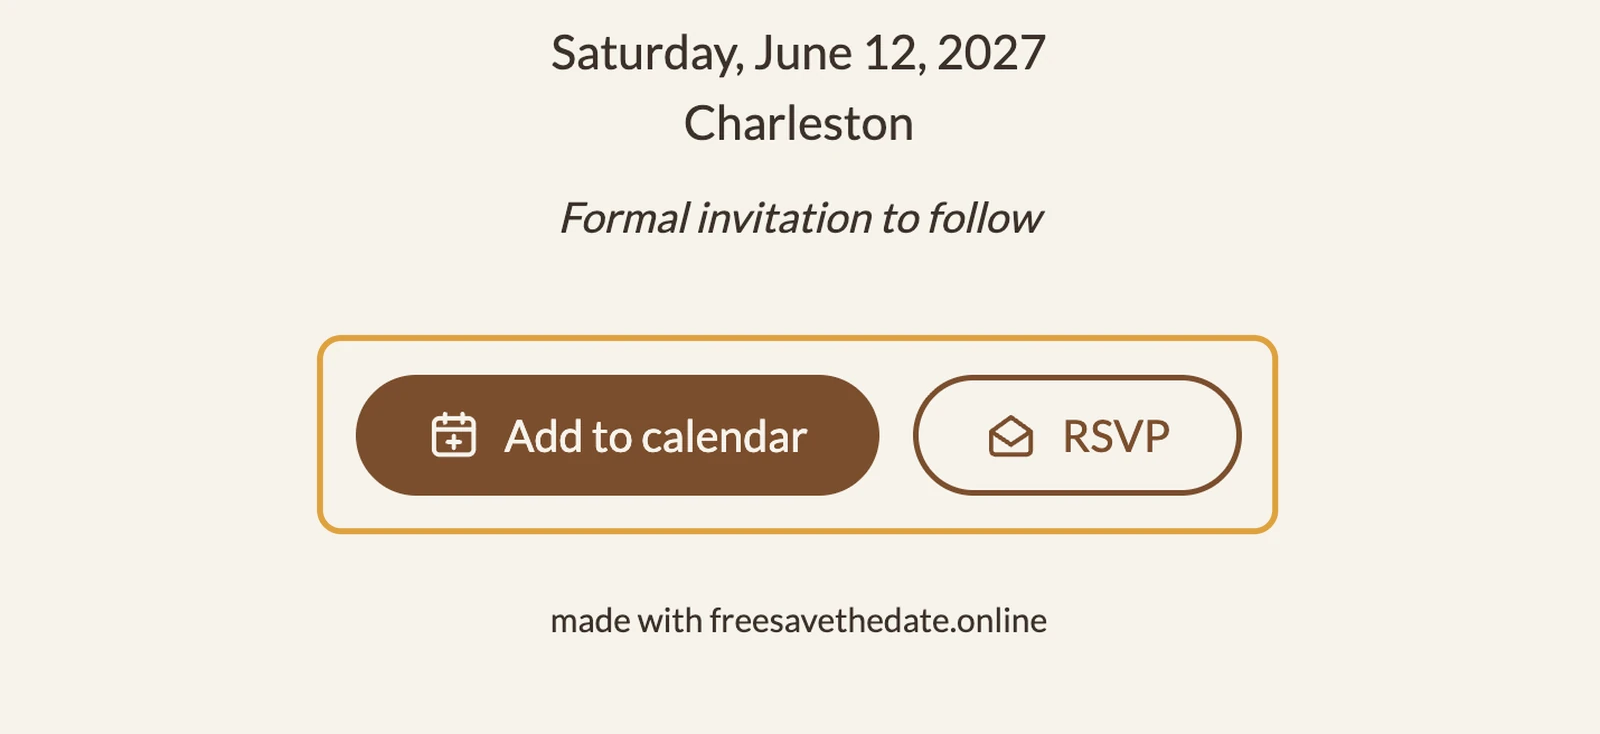
A web page with your design and, at the bottom, two buttons: Add to calendar and RSVP. Guests don’t install anything and don’t need an account.
What you get back
Every reply and message lands on your dashboard. Plans changed? You can edit the invitation until the day of the event, and the link stays the same. Anyone who already has it sees the new details straight away.
Next step: Create your first invitation
Last updated: November 11, 2026