Choosing a layout
The layout decides where your photo and text sit on the card. You only choose one when you start (almost) from scratch. A ready-made design already comes with its own layout.
The three layouts
After the details you’ll see Choose your layout:
- Without image. Text only. Calm, and useful if you don’t have a suitable photo (yet).
- Portrait image right. Text on the left, a portrait photo on the right.
- Start with header. First the heading and the name, then a wide photo, then the rest of the text.
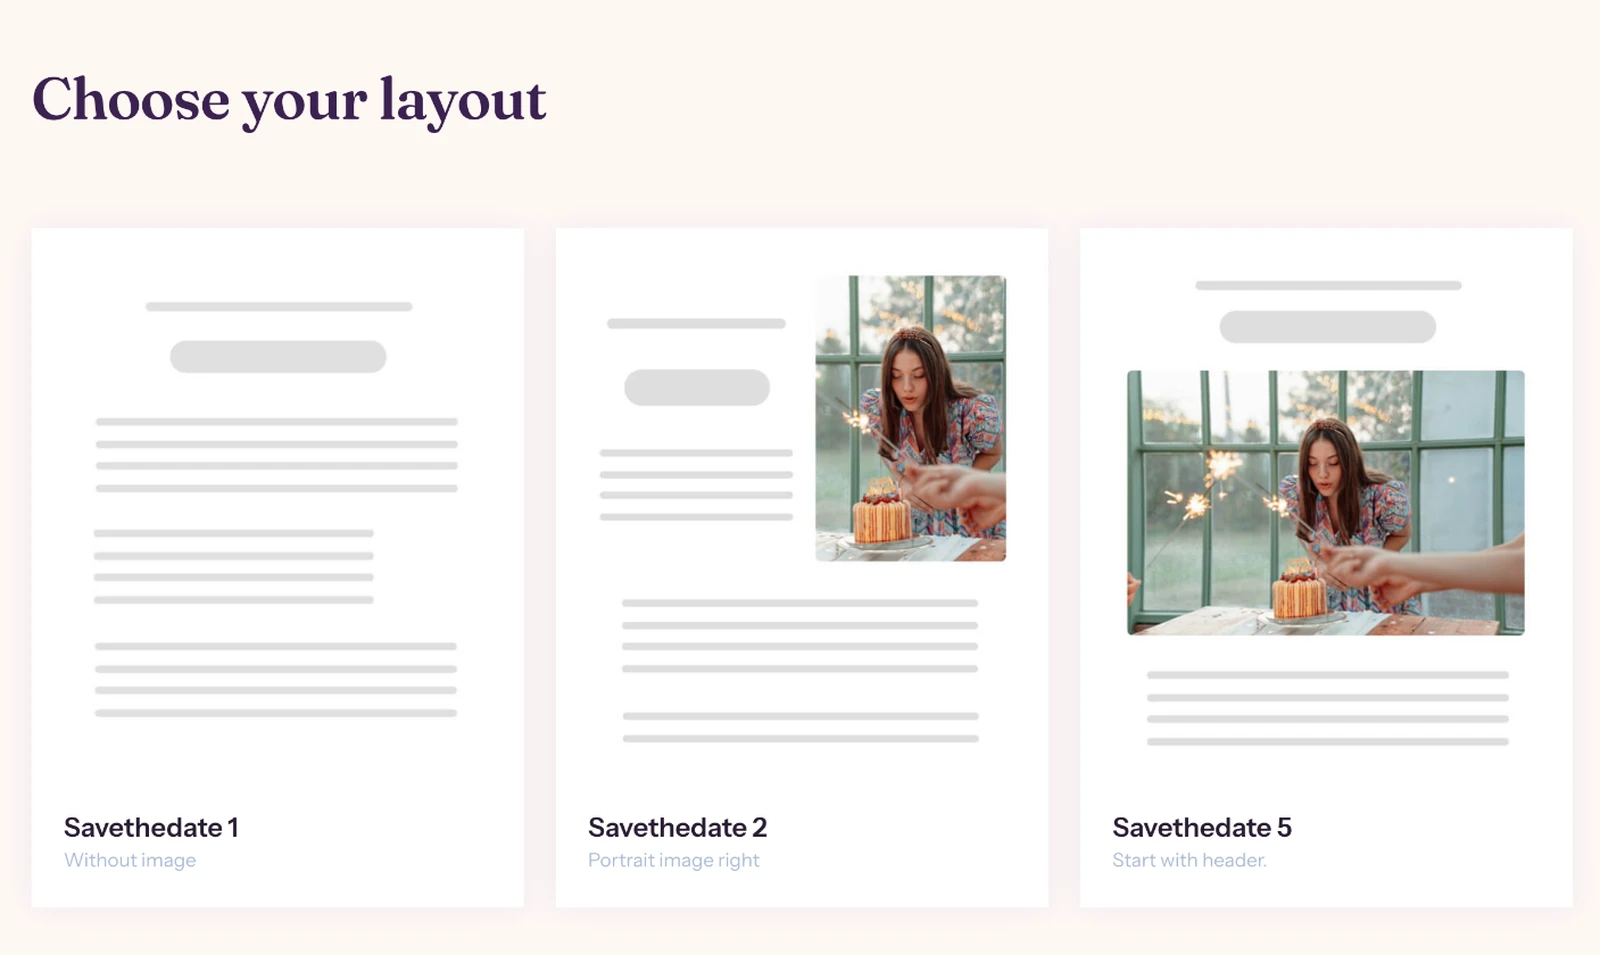
Which one suits your photo?
Start with the photo you want to use. A portrait, or any picture that’s taller than it is wide, works with layout 2. A landscape shot, such as a group photo or a view, looks better in layout 5, below the heading. No photo, or want the words to have all the space? Then layout 1 is the obvious pick.
Changing the layout later
You can’t switch layouts inside the builder. If you want a different one, create a new invitation and choose again. Copy your texts first and you can paste them straight back in.
Next step: Choosing the background and card colour
Last updated: October 24, 2026
- Designing your invitation: the basics
- Choosing a layout
- Choosing the background and card colour
- Using the colour picker and pipette
- Editing and formatting text
- Replacing the example text with your own details
- A new look in seconds with Redesign
- Undoing changes
- Moving and aligning text
- Showing or hiding text frames
- Adding a pattern
- Adding a link to your text
- Customising a ready-made design
- Using keyboard shortcuts