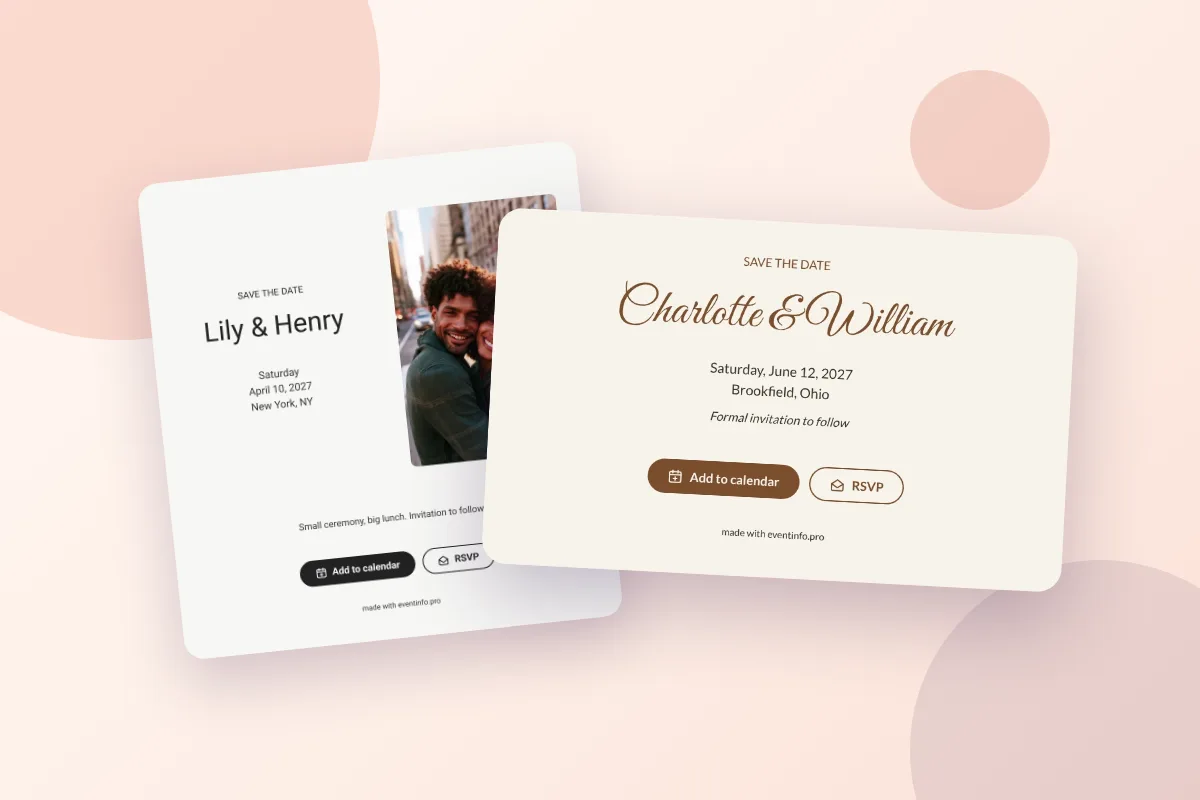
To make a free digital save the date, you pick a design, add the date and the place, adjust the text, colors or photo, and share the link by WhatsApp, text or email. On freesavethedate.online that takes a few minutes, and your guests can add the date to their calendar and let you know early whether they expect to come.
Below are the five steps as they work in the app, followed by what your guests see and what you can still change after sending. For the questions around it, such as timing and wording, see when to send save the dates and what to include on a save the date.
Step 1: Pick a design (or start blank)
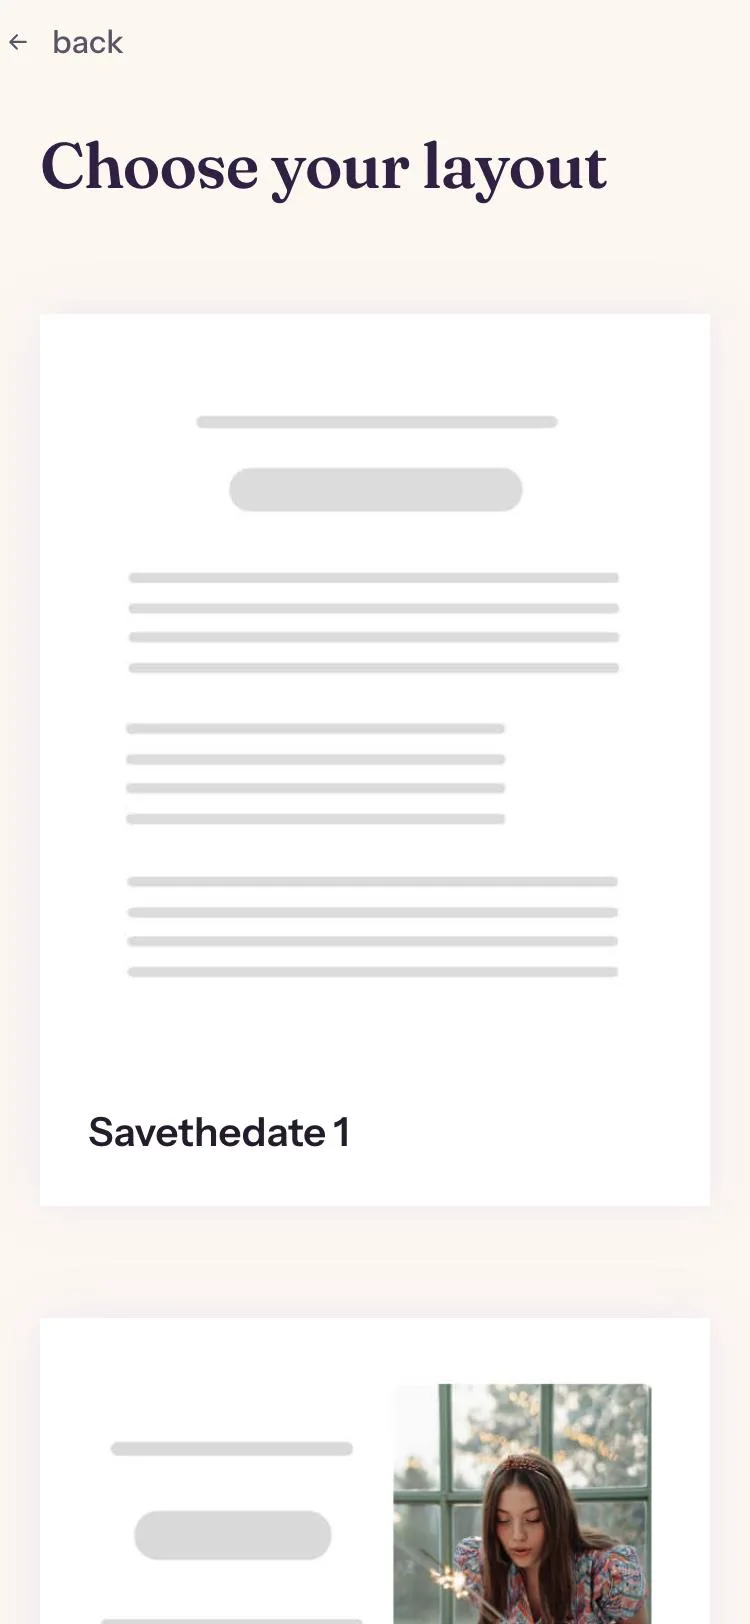
Create a free account at app.freesavethedate.online and choose a design. The templates are sorted by occasion: weddings, engagement parties, milestone birthdays, anniversaries, graduations, company events and more. You can browse them first on the save the date templates page and click Use this design on the one you like. Prefer to build it yourself? Start from a blank card.
The account is for you as the maker, so you can save and edit your design. Your guests never need one.
Step 2: Add the date and the place
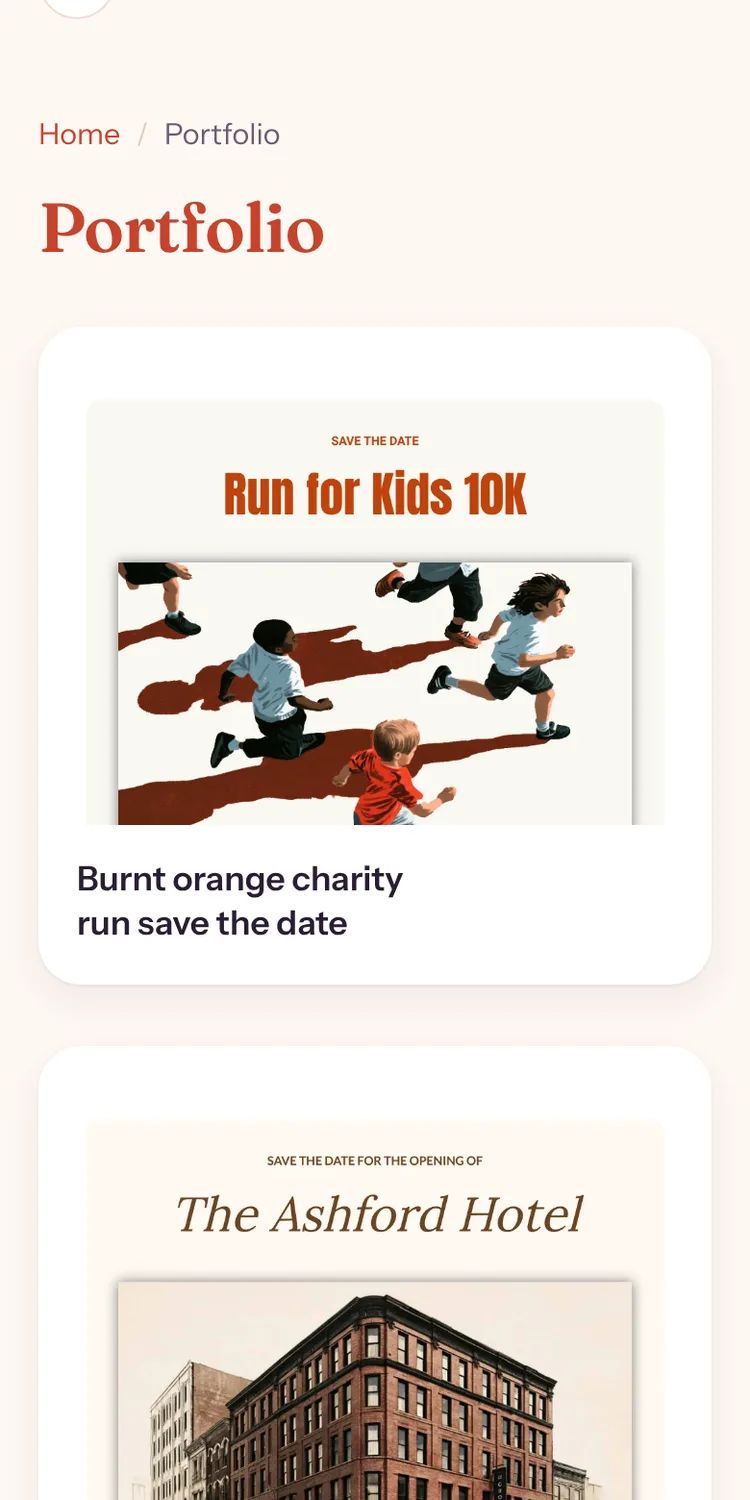
Next you fill in the details: your names (or the name of the host), the date and the location. The template fills these in for you, so the card already reads like yours before you have typed a single sentence.
There is no field for a time. That is deliberate: a save the date only asks guests to keep the day free, and the schedule follows with the invitation. It also means the date lands in your guests’ calendars as an all-day event. Only know the city so far? Then just fill in the city.
Step 3: Choose a layout
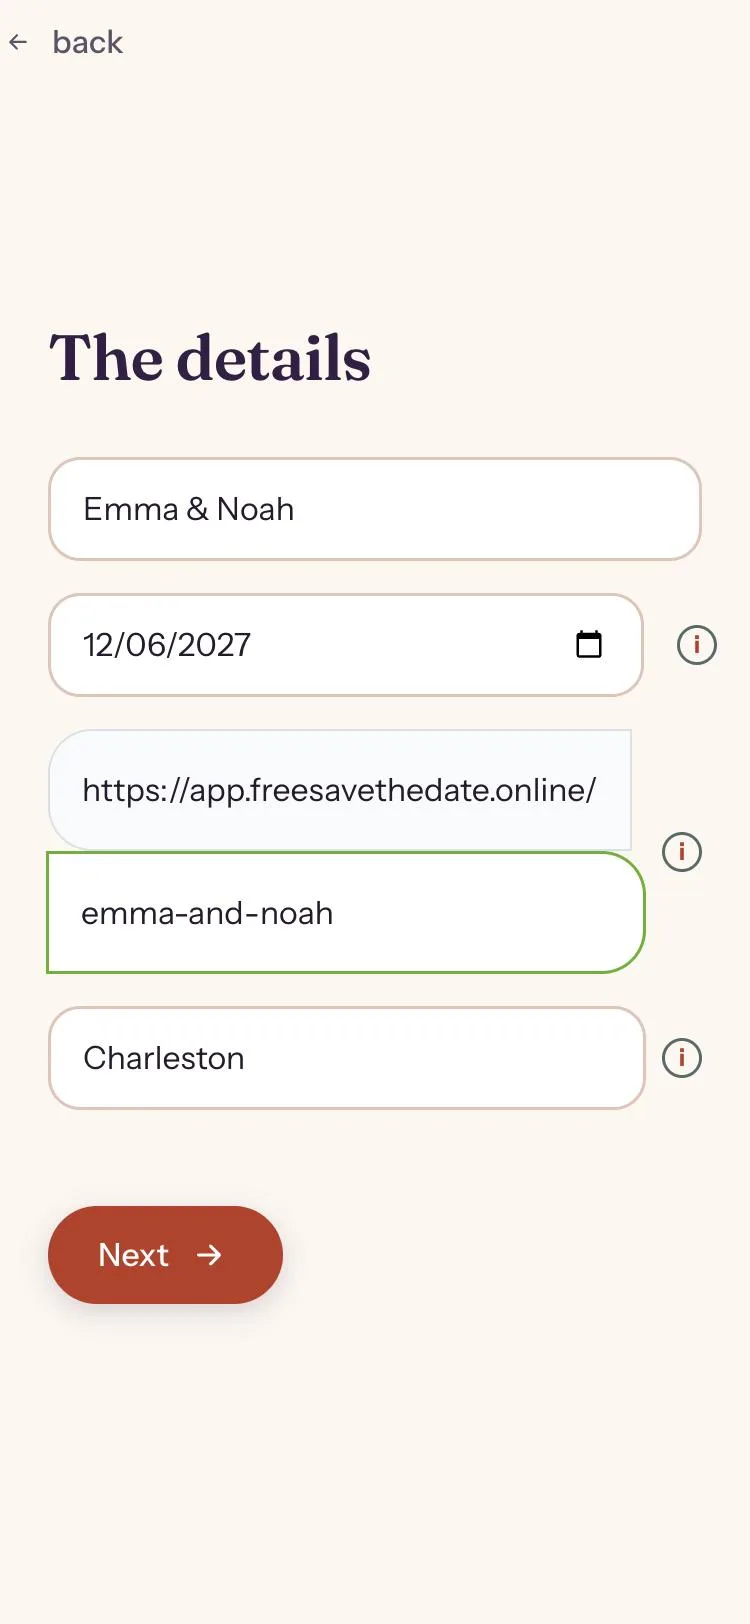
Every design starts from one of three layouts:
- Text only, for a clean card that puts the date first.
- Photo beside the text, with a portrait photo next to the text.
- Large photo, with a header image above the text.
Pick the one that suits the photo you have, or the lack of one. You only see this choice when you start from a blank card: a template already comes with its layout.
Step 4: Make it yours
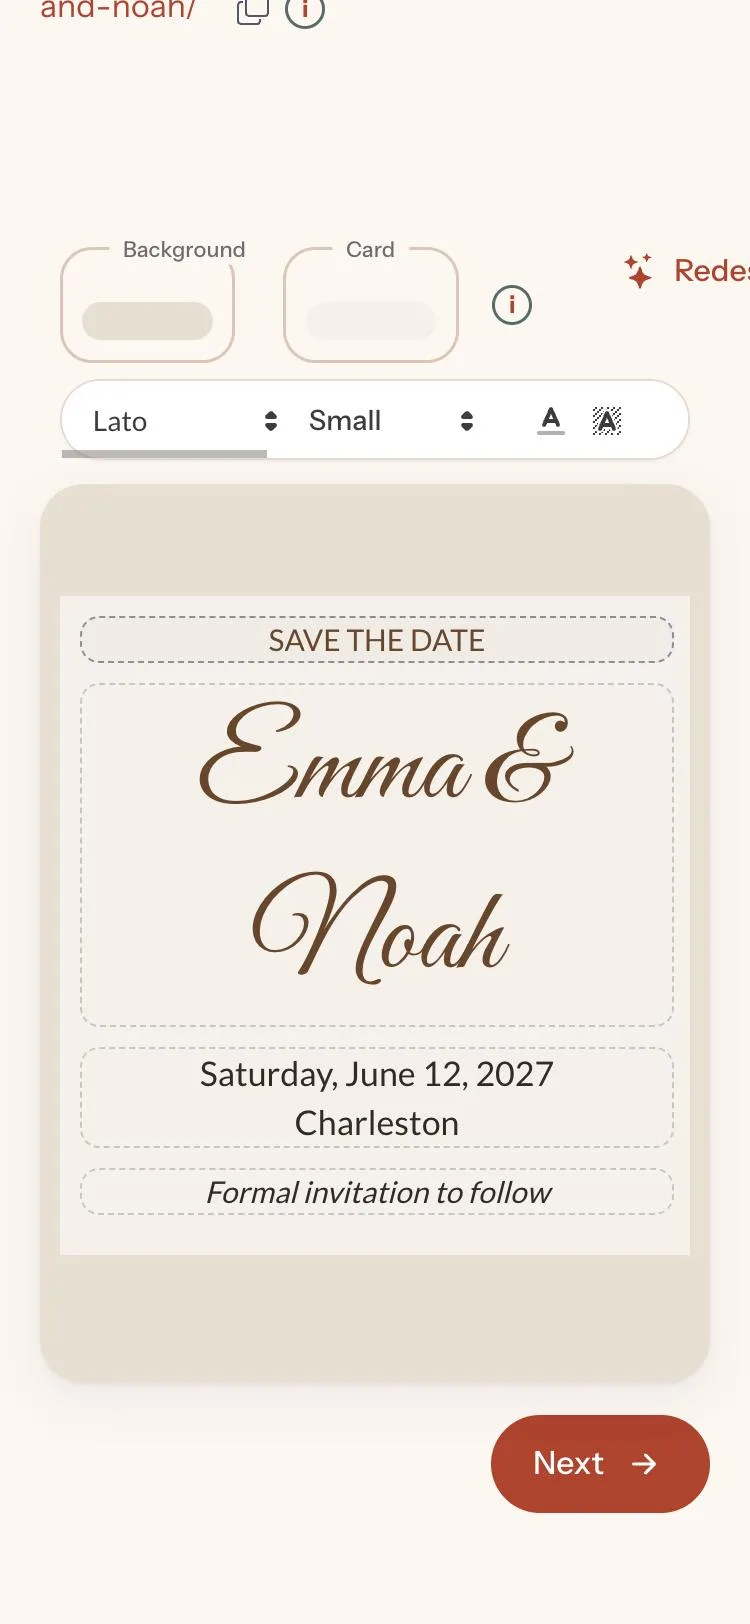
In the editor you change whatever you like: the four lines of text, the fonts, the colors of the card and the background, and the photo. Keep the text short. A heading such as “Save the date”, your names, the date and place, and one closing line like “Invitation to follow” is all a save the date needs.
One tip: the color of your names is also the color of the buttons your guests will tap. Pick a shade that stands out against the card, so the Add to calendar and RSVP buttons are easy to find.
Step 5: Activate for free and share the link
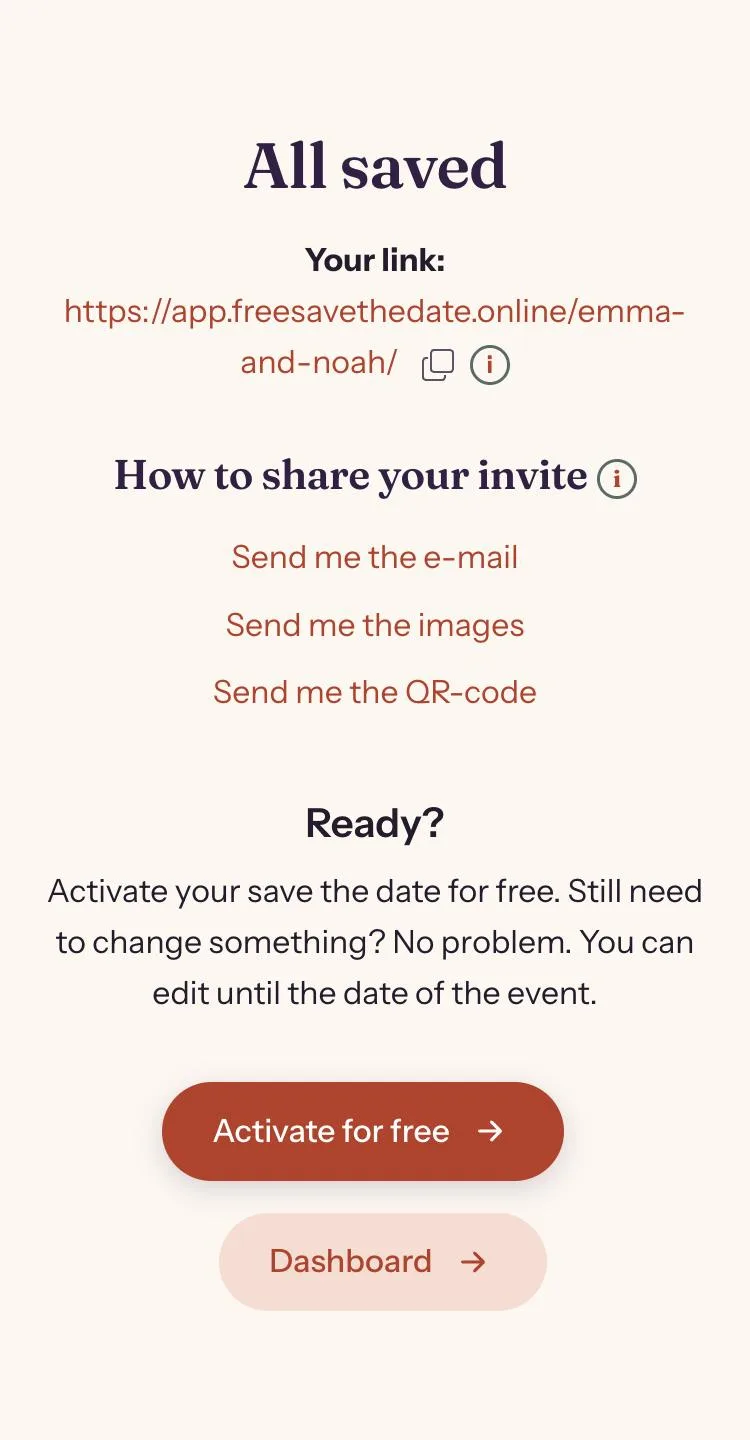
When you are happy with it, click Activate for free. Your save the date now has its own page and link. Share that link however your guests read their messages: in a WhatsApp group, by text, by email or on social media. From the dashboard you can also email it to your guests, download images for social media and send yourself a QR code, which is handy if you also want to print a few cards. The details per channel are in how to send a save the date by WhatsApp or email.
What your guests see
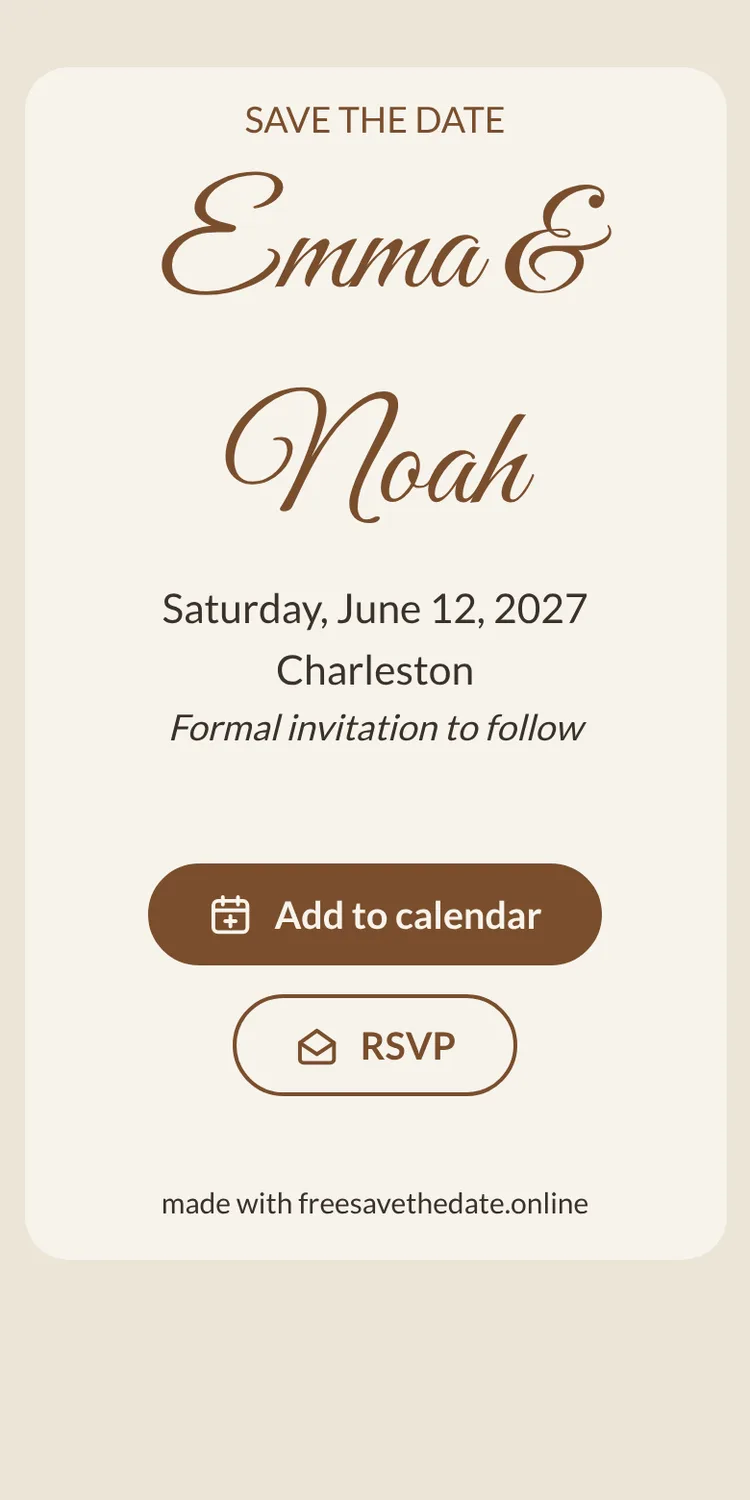
Guests open the link in their browser. No app, no account. They see your card with two buttons underneath:
- Add to calendar puts the date in Google Calendar, Apple Calendar, Outlook or Yahoo, with a link back to your save the date. More on this in add to calendar: make sure nobody forgets your date.
- RSVP lets them tell you right away whether they expect to come, and with how many. Their replies show up in your dashboard. See save the date with RSVP for how to use that early headcount.
Watch it in 30 seconds
After sending: change it any time
Plans shift. If the venue changes or you decide to add a photo, edit your save the date and the link stays the same, so everyone who opens it sees the latest version. You can also duplicate a design as the start for another event.
Once the program is set, the next step is the invitation itself, with the full schedule, directions and a formal RSVP. You can make that invitation with Eventinfo.pro, the invitation service behind freesavethedate.online. It is a different card with a different job, as explained in save the date vs. invitation. Planning something other than a wedding? There are separate guides for milestone birthday save the dates and for a company party, gala or reunion.
Ready to share your date? On freesavethedate.online you make a digital save the date for free, with an add to calendar button and early RSVP built in. Pick one of the save the date templates or create your free save the date right away.
Questions about making a digital save the date
Yes. Creating your save the date and sharing the link costs nothing. You only need a free account so you can save and edit your design.
A few minutes. Pick a design, add the date and place, adjust the text if you like, activate it for free and share the link.
No. Guests open the save the date in their browser, add the date to their calendar and RSVP without signing up.
Yes. Edit the details or the design and the link stays the same, so everyone sees the new version.
A save the date only asks guests to keep the day free. The time and schedule follow with the invitation, and the date is added to calendars as an all-day event.